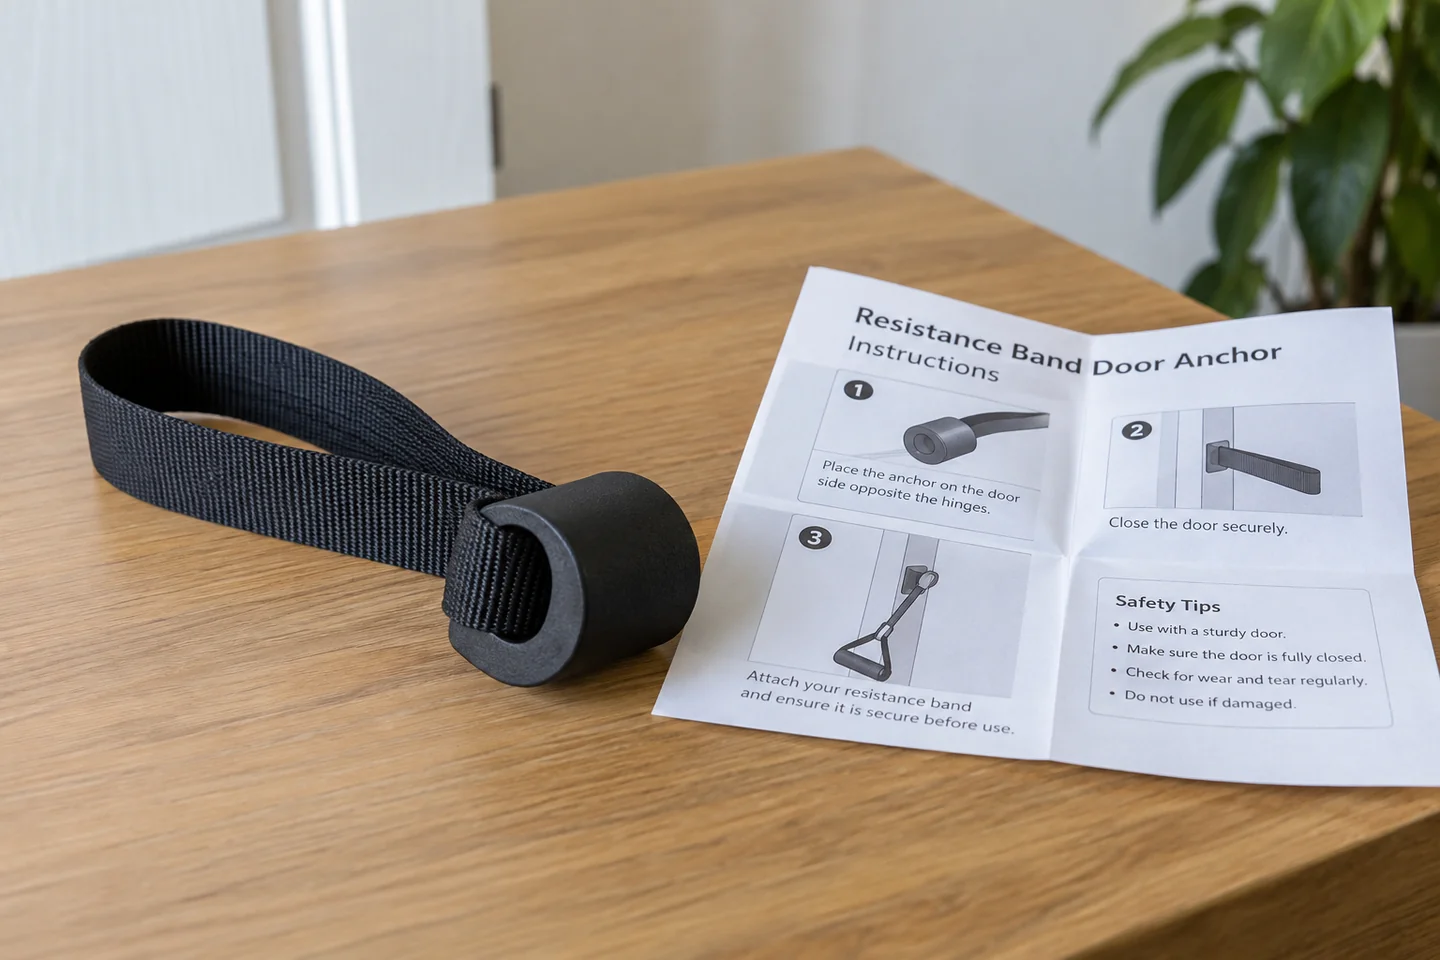
Start with the instructions for that exact anchor
Find the maker's guidance for the anchor and band combination you own. Check which door construction, hinge arrangement, closing direction and attachment positions it permits. These details vary. Advice for a different product may describe a setup that is not approved for yours, even when the anchor looks similar.
If you no longer have the leaflet, locate the official manual using the product name or model number. A retailer photograph alone rarely explains the requirements. Do not guess from the shape of the foam stopper or copy a social-media demonstration that omits the door check.
Read how the band should connect to the anchor. Some products use a fabric loop, others a specific connector or handle system. The fact that an improvised clip fits does not establish compatibility. Use the supplied or explicitly approved components, and do not add a knot where the instructions do not allow one.
Inspect the door as part of the equipment
Look at the door, frame and hardware for visible damage or looseness. A door that does not close securely or a frame that moves is not a suitable starting point. Follow the product's requirements for how the load should act on the door. Do not assume that every closed door is equally secure in both directions.
Make sure nobody can open it unexpectedly during use. Agree with others in the home and use any warning or securing method specified by the manufacturer. An anchor placed in a busy shared doorway can be inconvenient even when the hardware is sound; another exercise location may be more sensible.
Consider what is beyond the doorway too. An openable door, passing person or pet can alter the arrangement. The room must provide enough space for the whole movement and the band's line of pull, not only enough distance to stand in front of the anchor.
Check the complete assembly gently
Inspect the band and anchor for damage before use. Pay attention to contact points where material may have rubbed. Put worn or questionable equipment aside rather than testing its strength with a forceful pull. Replacement is a product decision; tape, extra knots and improvised padding do not create a reliable repair.
Once installed exactly as instructed, use a gentle check to confirm it is secure before exercising. Keep the face and other people out of the possible rebound path. Do not use a maximal pull as a stress test. If the anchor shifts, the door moves unexpectedly or the band rubs a rough edge, stop and resolve the problem.
The chosen exercise also has to match the anchor's permitted position and use. A high attachment and a low attachment create different pull directions. Moving it to a new place is a fresh installation, not a minor adjustment you can make while the band is loaded.
Have an alternative that needs no doorway
Sometimes the right result of the check is that the room or product does not suit the intended exercise. That is useful information before tension is applied. Choose another exercise you already know that uses a permitted band setup, or leave that movement out until you have suitable equipment and instruction.
Do not replace the anchor with a door handle, radiator pipe or furniture leg simply to keep the session unchanged. Each introduces another unverified support. A home workout should fit the available environment instead of requiring the environment to behave like a cable machine.
An anchor kit's warning label can be useful, but a sign alone does not physically prevent a door from opening. Follow the product's securing instructions and choose a doorway whose use you can control for the session. In a shared home, tell people which door is involved before installing the kit. If someone needs access, remove the tension and dismantle the arrangement properly before letting them through. Do not keep one hand pulling on the band while attempting to open the door with the other. The anchor's convenience depends on a stable, uninterrupted setup; when that is unavailable, another exercise is the simpler choice.
If the official instructions rely on a photograph, compare the entire arrangement rather than only the visible anchor. Note which side of the door the person stands on, where the stopper sits and how the band passes through the connector. If any of those details are ambiguous, ask the manufacturer for clarification. Do not reverse the setup because it gives you more floor space without confirming that the reversal is permitted. An image can omit important context, and extra room is not a reason to depart from the product's installation requirements.
After use, remove and store the equipment as directed so it does not become a trip or door-closing obstruction. Keep the manual with the kit or save its official link. The next setup is easier when the requirements are available, especially if you move the equipment to another room or take it on a trip. A doorway that worked yesterday does not automatically approve a different door tomorrow.